Tutorial: Visualizing Wind Directions with a Gauge
Configure the Gauge widget to act as a compass that follows wind direction in real time.
You need a Homey capability or variable that reports wind direction in degrees. The KNMI app (Dutch) and Netatmo wind gauge are examples.
Ensure each flow card is linked to the previous card so the flow runs in order.
1. Trigger on wind direction changes
Create a flow that fires whenever the wind direction value changes.
2. Convert degrees to text
Add the HomeyScript card Execute code with argument and return Text tag. Pass the wind direction (in degrees) from step 1 as the argument and use the script below to convert it into a human-readable string.
// args[0] holds the wind direction in degrees
let deg = args[0];

// Normalize input to 0-360
deg = ((deg % 360) + 360) % 360;

let direction;

if ((deg > 337.5 && deg <= 360) || (deg >= 0 && deg <= 22.5)) {
  direction = 'North';
} else if (deg > 22.5 && deg <= 67.5) {
  direction = 'Northeast';
} else if (deg > 67.5 && deg <= 112.5) {
  direction = 'East';
} else if (deg > 112.5 && deg <= 157.5) {
  direction = 'Southeast';
} else if (deg > 157.5 && deg <= 202.5) {
  direction = 'South';
} else if (deg > 202.5 && deg <= 247.5) {
  direction = 'Southwest';
} else if (deg > 247.5 && deg <= 292.5) {
  direction = 'West';
} else if (deg > 292.5 && deg <= 337.5) {
  direction = 'Northwest';
} else {
  direction = 'Unknown';
}

return direction;
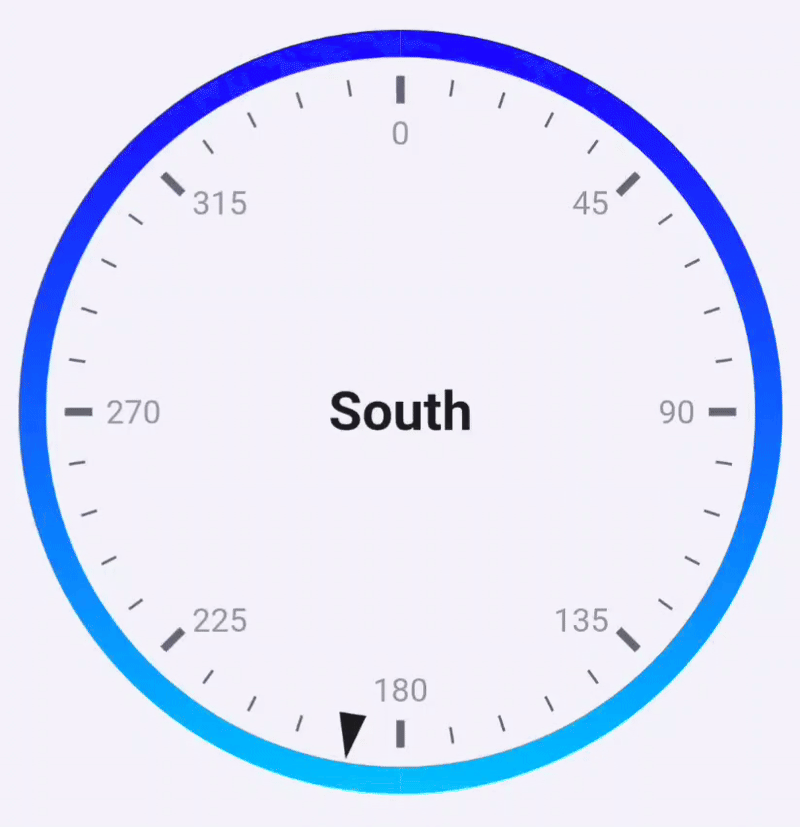
3. Set the range and wind direction
Use the DataVista range action card to define the datasource.
- Pick an identifier such as Wind gauge.
- Set the minimum and maximum to
0and360. - Choose the numeric token from step 1 as the Value.
- Set the unit to
°and place it after the value. - Overwrite the label with the text token produced in step 2.
4. (Optional) Configure the visualization
Use the DataVista gauge configuration action card if you want to customize colors.
- Create an identifier such as Visualization for wind gauge.
- Configure your preferred color stops (for example, blue at position
0).
5. Add the widget to the dashboard
Follow the Gauge widget setup to add an Advanced Gauge. Select the datasource from step 3 and (if created) the configuration from step 4.